Recently I switched from my ThinkPad to MacBook Pro. Coming from Linux world I soon started missing some of my previous favorite tools.
One of them is Guake – a drop-down terminal tool. There’s no macOS version of it but luckily there’s a way to get terminal with similar behaviour on macOS.
Installation
At first we have to install and run the iTerm2, an open-source replacement for macOS Terminal tool.
Install iTerm2 via Homebrew.
brew cask install iterm2
Or download it from the website.
Configuration
As you might expect it doesn’t work like Guake out-of-the-box, we have to configure it a little bit.
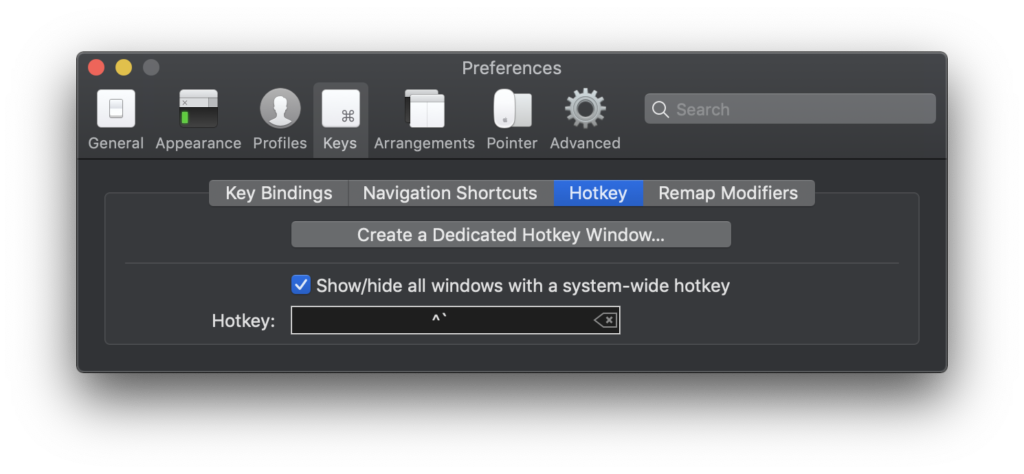
At first we have to set our keyboard shortcut (hotkey) to open our terminal window instantly. It’s up to you what key combination you choose. In my case it was: [⌃+`].
Go to Preferences → Keys → Hotkey and check the Show/ hide all windows with a system-wide hotkey checbox and choose your hotkey combination.
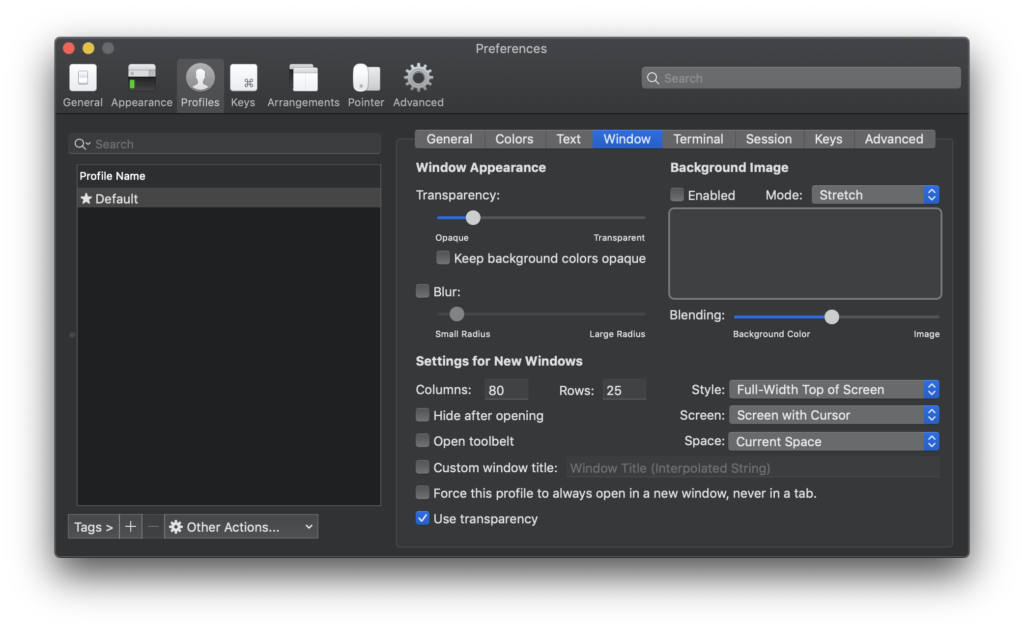
You can show/hide the terminal using hotkey right now. But we have to set some more options: terminal display position and appearance on the screen with cursor.
Go to Preferences → Profiles → Window tab and set Style to Full-Width Top of Screen and Screen to Screen with Cursor.
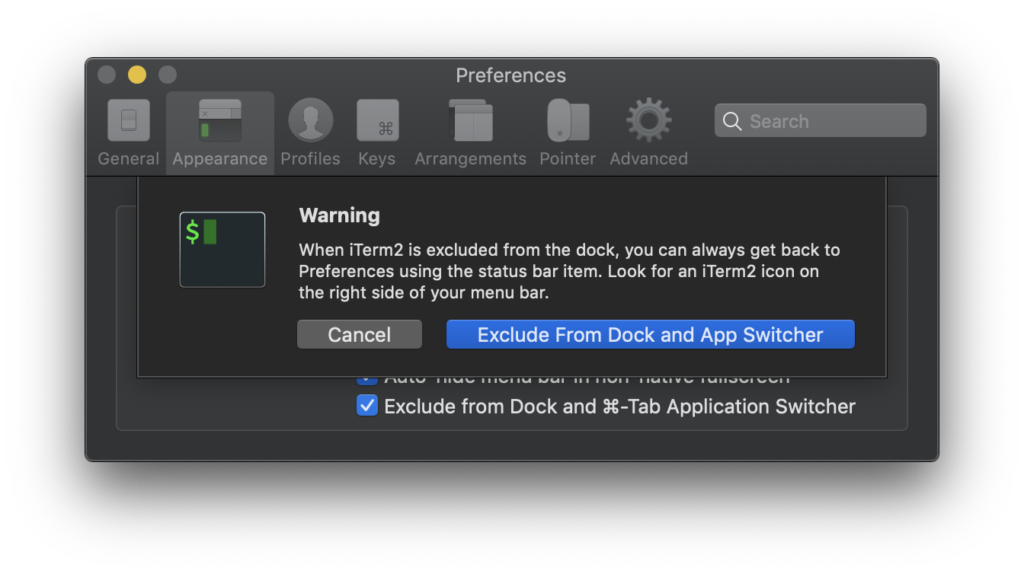
Good idea is also to exclude iTerm2 from the Dock and application switcher [⌘+Tab].
Go to Preferences → Appearance and check the Exclude from Dock and ⌘-Tab Switcher.
Run on startup
Your drop-down terminal is almost ready to go but it won’t run when you’ll restart your machine. To start iTerm automatically on system startup you need to configure it.
Go to System Preferences → Users and Groups. Then choose your user and go to Login Items tab. Add new item with [+] button and choose iTerm application from Applications folder.
Don’t forget to click the lock icon to make changes.
Testing
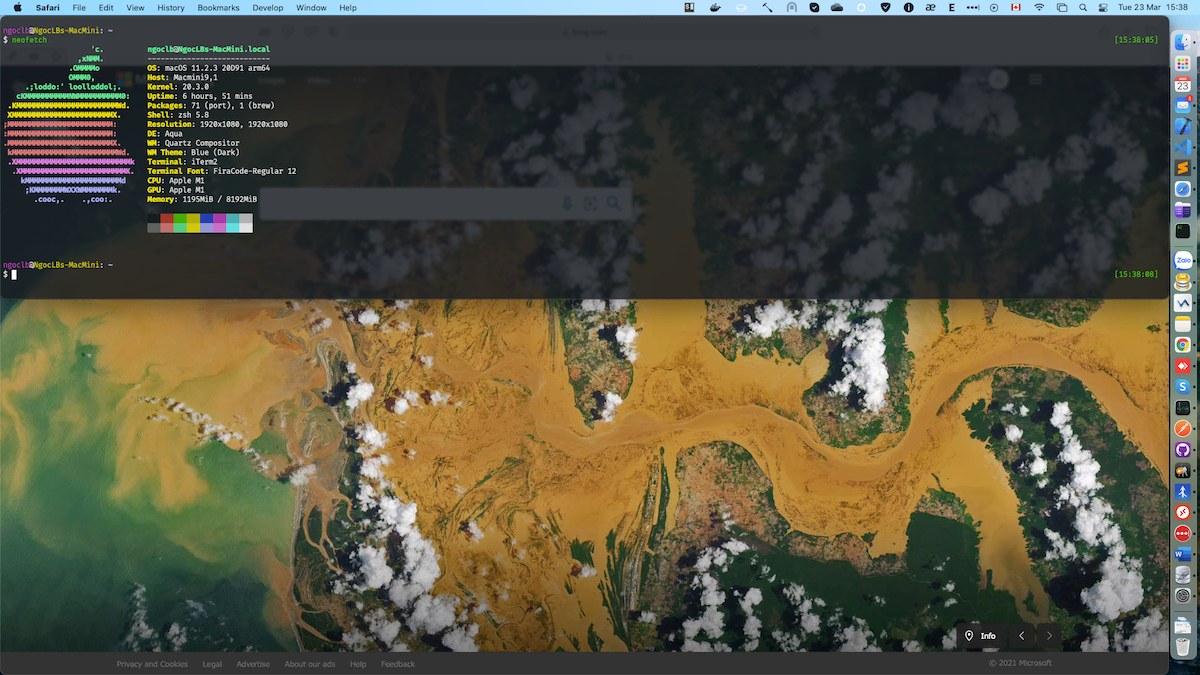
Here you go. You’re ready to use your drop-down terminal.
Use you hotkey combination and you should see the result.
Good luck!